Welcome to our comprehensive guide on the basics of fly tying for beginners. Whether you’re new to this creative hobby or looking to improve your skills, we’ve got you covered. In this guide, we’ll walk you through the necessary tools, materials, and techniques needed to tie your own flies. Whether you plan to use them for fishing or simply enjoy the art of fly tying, this tutorial will provide you with all the information you need to get started.
Key Takeaways:
- Learn the essentials of fly tying with our step-by-step instructions.
- Discover the necessary tools and materials for beginners.
- Master the basic techniques for tying different fly patterns.
- Try your hand at three beginner-friendly fly patterns.
- Enjoy the journey of creating your own unique flies.
Fly Tying Tools: Essential Equipment for Beginners
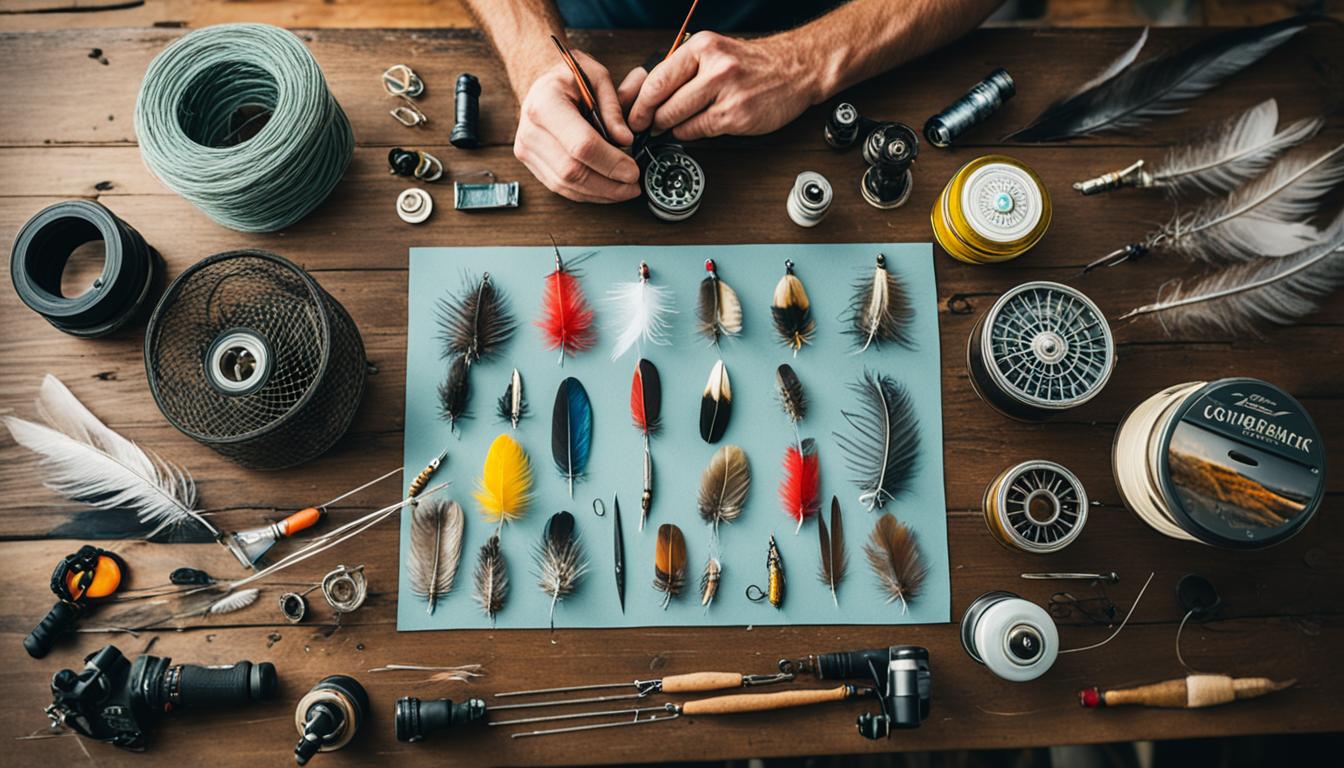
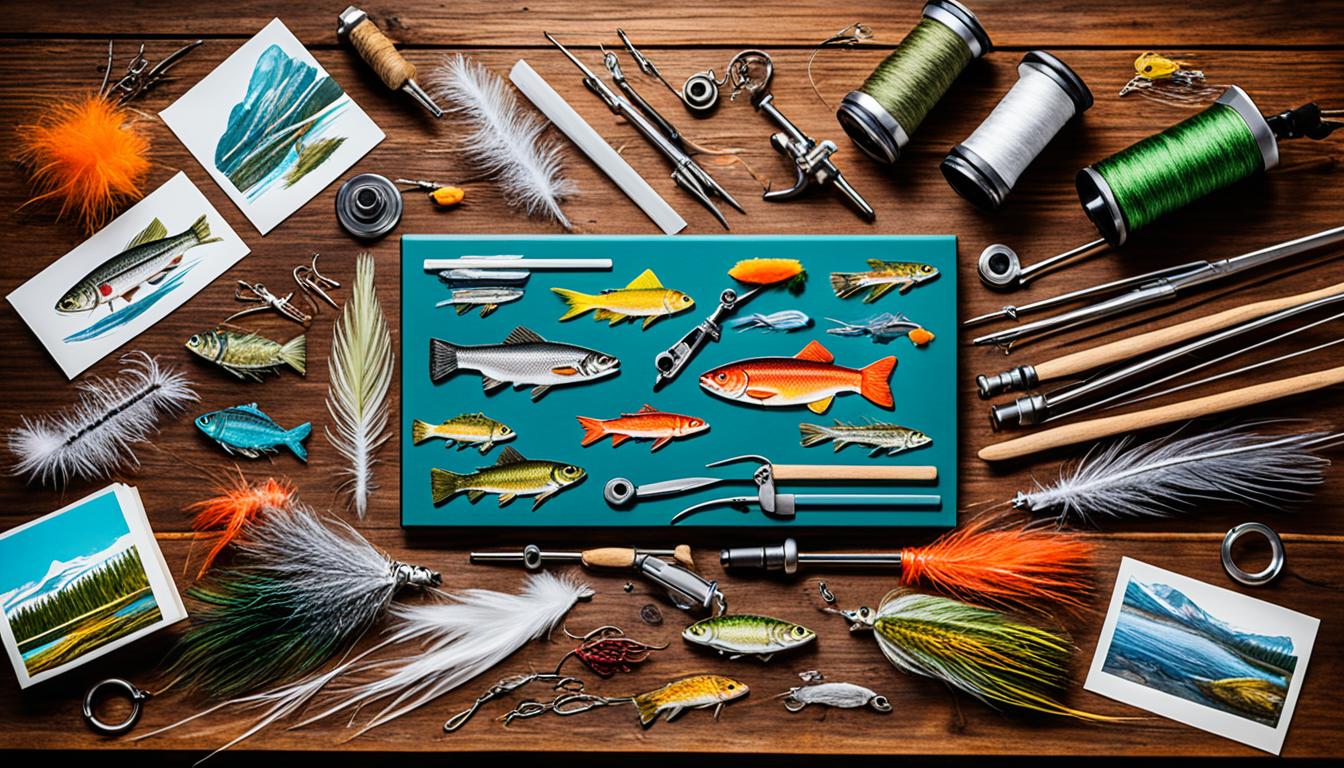
To get started with fly tying, you will need a few essential tools. These tools will enable you to work with the materials and thread, secure your fly, and create the desired patterns.
Here are the key fly tying tools that every beginner should have:
- Fly Tying Vise
- Fly Tying Scissors
- Bobbin
- Bobbin Threader
- Whip Finisher
- Bodkin Needle
- Hackle Pliers
Fly Tying Vise
The fly tying vise is a crucial tool that holds the hook steady while you tie the fly. This allows you to have both hands free to work with the materials and thread.
Fly Tying Scissors
Sharp and precise fly tying scissors are essential for cutting various materials such as feathers, hair, and thread. It’s important to invest in a good pair of scissors that can handle different fly sizes.
Bobbin
The bobbin holds and controls the fly tying thread as you wrap it around the hook. Make sure to choose a bobbin with an adjustable tension system for better control.
Bobbin Threader
The bobbin threader helps you guide the thread through the bobbin tube. It makes threading the bobbin easier and prevents tangles.
Whip Finisher
The whip finisher is used to securely finish off the fly by creating a knot. It ensures that the thread doesn’t unravel and keeps the fly intact during fishing.
Bodkin Needle
A bodkin needle is a versatile tool that helps with various tasks such as applying head cement, clearing blocked hook eyes, and teasing out trapped materials.
Hackle Pliers
Hackle pliers are used to hold and manipulate feathers or other materials while wrapping them around the hook. They provide better control and precision during the tying process.
Additionally, as you progress in your fly tying journey, you may want to explore other tools such as a rotary vise, which allows you to rotate the fly while tying, making it easier to access different parts of the fly.
It’s also worth considering different types of scissors based on the size of the flies you plan to tie. Having a variety of tools at your disposal will help enhance your fly tying experience and enable you to tie a wide range of fly patterns.
Fly Tying Materials: A Beginner’s Guide
When it comes to fly tying materials, there is a wide variety to choose from. These materials play a crucial role in creating flies that imitate different insects or baitfish, and they allow you to experiment with various patterns and designs. In this section, we will explore the essential materials you need to get started with fly tying and discover the possibilities they offer.
Hooks
One of the most important fly tying materials is the hook. Hooks come in different sizes and styles to suit various fishing situations and fly patterns. They provide the foundation for your flies and determine their size, shape, and overall effectiveness in the water. Whether you are tying dry flies, nymphs, or streamers, selecting the right hooks is crucial for achieving desired results.
Thread
Thread is another essential material for fly tying. It is used to secure materials to the hook, build the body of the fly, and create various patterns. Fly tying thread comes in different thicknesses and colors, allowing you to match the color of the pattern or add contrasting elements. Choosing the appropriate thread for your fly pattern is essential for achieving proper proportions and durability.
Dubbing
Dubbing is commonly used to create the bodies of flies and add lifelike texture and color. It is made from various materials, such as natural fur, synthetic fibers, or blends. Dubbing can imitate insect bodies, simulate the appearance of prey, or create attractor patterns. By experimenting with different dubbing colors and textures, you can create flies that mimic specific insects or stand out in the water.
Hackle
Hackle feathers are widely used in fly tying to add movement, flotation, and lifelike appearance to flies. These feathers are typically found on the neck or back of a bird and come in different sizes, shapes, and colors. Hackle is used to create collars, legs, wings, and tails, depending on the fly pattern. By incorporating hackle into your flies, you can enhance their realism and effectiveness.
Additional Materials
In addition to the core materials mentioned above, there are several other fly tying materials that can be used to create specific patterns or add extra features to your flies. Some of these materials include:
- Bead Heads: Can be added to nymph patterns to provide weight and mimic the appearance of a bead or an egg.
- Flashabou: Reflective materials used to imitate scales or create attractor patterns.
- Microfibets: Tiny fibers used to simulate tails or legs of aquatic insects.
- Wire: Adds weight, body segmentation, or reinforcement to flies.
- Lead Wire: Provides additional weight for sinking flies.
By incorporating these additional materials into your fly patterns, you can create unique and effective flies that cater to specific fishing situations.
“Using high-quality materials not only improves the durability and appearance of your flies but also enhances their performance in the water. Don’t hesitate to invest in top-notch materials, as they can make a significant difference in your fly tying experience.”
Fly Tying Techniques: Mastering the Basics
To become proficient in fly tying, it is important to master the basic techniques. These foundational skills will serve as the building blocks for creating beautiful and effective flies. In this section, we will explore the key techniques that every fly tyer should know.
Starting and Securing the Thread
One of the first steps in fly tying is starting and securing the thread. This technique ensures that the materials you add to the hook will stay in place. To start the thread, hold the tag end and wrap the thread around the hook shank a few times. Then, use your bobbin to control the tension as you continue wrapping the thread towards the hook eye. To secure the thread, make a few wraps right behind the hook eye and whip finish by making a knot.
Pinch Wrapping Materials
Pinch wrapping is a technique used to attach materials to the hook. To pinch wrap, hold the material between your fingertips and place it on top of the hook shank. Then, use the thread to secure the material by making wraps around it. As you wrap, gently pinch the material with your fingers to ensure it is securely fastened to the hook. This technique is commonly used for attaching hackle, feathers, and other soft materials.
Applying Dubbing
Dubbing is used to create the body of the fly and give it a realistic appearance. To apply dubbing, take a small amount of dubbing material and twist it onto the thread. Once the dubbing is attached to the thread, you can start wrapping it around the hook shank to form the body of the fly. Use your fingers or a dubbing tool to evenly distribute the dubbing and create the desired shape and thickness.
Understanding Fish Hook Parts and Proportions
Understanding the different parts of a fish hook is crucial for creating flies with proper proportions. The key parts of a fish hook include the shank, bend, point, eye, and barb. Each part plays a role in determining the fly’s appearance and functionality. By learning how to use these parts effectively, you can tie flies that closely resemble natural insects or baitfish.
“Mastering these basic techniques will lay a solid foundation for your fly tying journey.”
By practicing these techniques and following step-by-step instructions, you will gain the skills needed to tie various fly patterns and create flies that are durable and effective on the water.
Now that you have learned the fundamentals, it’s time to put your knowledge into practice. In the next section, we will provide step-by-step instructions for tying three beginner-friendly fly patterns. These patterns will allow you to apply the techniques you’ve mastered and develop your creativity as a fly tyer.
Beginner Fly Patterns: Step-by-Step Instructions
Now that you have the necessary tools, materials, and techniques, it’s time to start tying your first flies. In this section, we will provide step-by-step instructions for three beginner fly patterns: the San Juan Worm, the RS2, and the Soft Hackle Mayfly. These patterns are great for beginners and cover a range of techniques, from attaching materials to the hook with the pinch wrap to creating a dubbing noodle and palmering hackle. By following along with the instructions, you will be able to tie these flies and gain confidence in your fly tying skills.
Let’s get started!
1. The San Juan Worm
Pattern:
| Materials | Hook Size | Thread Color |
|---|---|---|
| Red Chenille | 10-16 | Red |
Step-by-step instructions:
- Start the thread on the hook.
- Tie in the red chenille at the rear of the hook.
- Wrap the chenille forward, creating a segmented body.
- Tie off the chenille and trim the excess.
- Whip finish the fly and cut the thread.
2. The RS2
Pattern:
| Materials | Hook Size | Thread Color |
|---|---|---|
| Olive Dubbing | 18-22 | Olive |
Step-by-step instructions:
- Start the thread on the hook.
- Create a dubbing loop.
- Spin the olive dubbing into a noodle.
- Wrap the dubbing noodle around the hook to create the body.
- Whip finish the fly and cut the thread.
3. The Soft Hackle Mayfly
Pattern:
| Materials | Hook Size | Thread Color |
|---|---|---|
| Dun Hackle | 12-16 | Tan |
Step-by-step instructions:
- Start the thread on the hook.
- Tie in the dun hackle at the rear of the hook.
- Create a dubbing loop.
- Spin the dubbing into a noodle.
- Wrap the dubbing noodle around the hook to create the body.
- Wrap the dun hackle forward, palmering it through the body.
- Whip finish the fly and cut the thread.
Conclusion
Thank you for joining us on this fly tying journey! In this guide, we have equipped you with the basics of fly tying for beginners, including essential tools, materials, and techniques. We understand that the initial results may not meet your expectations, but remember that perseverance and practice are key.
As you continue on your fly tying adventure, don’t be afraid to experiment with new patterns and materials. This creative hobby allows you to unleash your imagination and design unique flies that suit your fishing preferences. Whether you are tying flies for trout, bass, or other species, the possibilities are endless.
With each fly you tie, you are not only crafting a functional fishing tool but also expressing your artistic side. Fly tying is a rewarding endeavor that enhances your angling experience, enabling you to connect with nature and immerse yourself in the world of fly fishing.
So, grab your tools, gather your materials, and let your creativity soar as you embark on this exciting fly tying journey. Remember, practice makes perfect, and every fly you tie brings you one step closer to becoming a skilled fly tyer. Enjoy the process, have fun, and may your lines always be tight!
FAQ
What is fly tying?
Fly tying is the process of creating artificial flies used in fly fishing. It involves using various materials and techniques to mimic the appearance and behavior of insects or baitfish that fish prey on.
Why should I learn fly tying?
Learning fly tying allows you to customize your flies to match the specific insects or baitfish in your local fishing waters. It also gives you a sense of satisfaction and creativity as you create your own unique patterns.
Do I need any special tools to start fly tying?
Yes, you will need some basic fly tying tools such as a fly tying vise, scissors, a bobbin, a bobbin threader, a whip finisher, a bodkin needle, and hackle pliers. These tools will help you work with the materials and secure your flies.
What materials do I need for fly tying?
Some common materials used in fly tying include hooks, thread, dubbing, hackle, peacock herl, and elk or deer hair. Depending on the patterns you want to tie, you may also need other materials such as bead heads, flashabou, microfibets, wire, and lead wire.
What are some basic fly tying techniques I should learn?
Some basic techniques include starting and securing the thread, whip finishing to secure the fly, pinch wrapping materials onto the hook, and applying dubbing to create the body of the fly. Understanding the different parts of a fish hook and how to use them for proportions is also important.
Can you recommend some beginner fly patterns I can start with?
Sure! Three beginner-friendly fly patterns you can try are the San Juan Worm, the RS2, and the Soft Hackle Mayfly. They cover a range of techniques and are great for practicing and building your skills in fly tying.
