Tying knots is a foundational skill in fly fishing. Understanding and mastering the essential fly fishing knots is crucial for every angler. Whether you’re connecting the backing to the reel, attaching the fly line to the leader, or joining different pieces of leader material, knowing the right knots is essential for a successful and enjoyable fly fishing experience. In this article, we will explore the top knots every fly fisher should know and provide detailed instructions on how to tie them.
Key Takeaways:
- Knowing the essential fly fishing knots is crucial for every angler.
- Tying the knots correctly ensures a secure and reliable rig.
- Mastering these knots enhances your fly fishing experience.
- Top knots every fly fisher should know include the Arbor Knot, Nail Knot, Surgeon’s Knot, and Non-Slip Loop Knot.
- Practice and familiarity with these knots will increase your chances of a successful catch.
The Arbor Knot – Backing to Reel Arbor
In fly fishing, securing the backing to the reel arbor is a crucial step that ensures a solid connection between your line and the reel. This is where the Arbor Knot comes into play, serving as the fundamental knot used for attaching the backing to the reel arbor.
The Arbor Knot is known for its simplicity and effectiveness, providing a reliable method to prevent the backing from slipping on the reel. By following a few easy steps, you can secure the backing to the reel and create a sturdy foundation for the rest of your fly fishing setup.
Here’s a step-by-step guide on how to tie the Arbor Knot:
- Pass the end of the backing through the reel arbor.
- Create a simple overhand knot around the standing line, forming a loop.
- Bring the end of the backing back through the loop.
- Hold both the standing line and the tag end, ensuring the loop is snug against the arbor.
- Moisten the knot and slowly tighten it by pulling the standing line and the tag end.
- Trim off any excess backing.
By properly tying the Arbor Knot, you can secure the backing to the reel arbor and eliminate any concerns about slippage during your fly fishing adventures. Take your time to practice and perfect this knot, as it will provide the foundation for a secure connection between your backing and reel.
Remember, a strong backing-to-reel arbor connection is essential for handling the powerful runs of a hooked fish, ensuring your equipment remains intact and your fly fishing experience is a success.
| Advantages of the Arbor Knot | Disadvantages of the Arbor Knot |
|---|---|
| Simple and easy to tie | Less suitable for heavy-duty fishing situations |
| Creates a secure connection between backing and reel arbor | May require periodic retying and tightening |
| Prevents backing from slipping on the reel | Requires a careful balance of tightening to avoid damaging the knot or line |
The Nail Knot – Backing to Fly Line or Fly Line to Leader
The Nail Knot is an indispensable knot used in fly fishing to connect the backing to the fly line or the fly line to the leader. It is known for its sleek and streamlined design, which reduces the chances of snags or breakages. The Nail Knot is highly valued for its strength and reliability, making it a preferred choice among anglers. With a few simple steps, you can create a strong and secure connection between the different components of your fly fishing setup.
Step-by-Step Guide: Attaching Backing to Fly Line
- Begin by threading the fly line through the center of a fly line nail or a hollow tube, creating an extended section of fly line.
- Using a nail, tube, or specially designed tool, insert the backing through the extended section of fly line, leaving a tag end of approximately 6 inches.
- Hold the tag end of the backing along the extended section of fly line, making sure both lines lie parallel to each other.
- Starting from the top, wrap the tag end of the backing over itself and the extended fly line section, moving towards the bottom of the fly line.
- Make 6 to 8 wraps, ensuring tight and even coils, then pass the tag end of the backing through the loop formed by the fly line and backing.
- Hold the tag end and the main line of the backing, gently pull on the fly line to tighten the knot, keeping the coils snug against each other.
- Once the knot is secure, trim the tag end of the backing close to the knot, leaving a neat finish.
Step-by-Step Guide: Attaching Fly Line to Leader
- Connect the leader butt of your choice to the end of the fly line using a loop-to-loop connection or a nail knot, depending on your preference.
- Place the fly line and leader butt alongside each other, overlapping for a few inches.
- Hold the leader butt and the fly line together, creating a double line section.
- Using a nail, tube, or specially designed tool, insert the fly line and leader butt through the tube, leaving a tag end of approximately 6 inches.
- Hold the tag end of the leader butt along the double line section, making sure both lines are parallel.
- Starting from the top, wrap the tag end of the leader butt over itself and the double line section, moving towards the bottom of the fly line.
- Make 6 to 8 wraps, ensuring tight and even coils, then pass the tag end of the leader butt through the loop formed by the fly line and leader butt.
- Hold the tag end and the main line of the leader butt, gently pull on the fly line to tighten the knot, keeping the coils snug against each other.
- Once the knot is secure, trim the tag end of the leader butt close to the knot, leaving a neat finish.
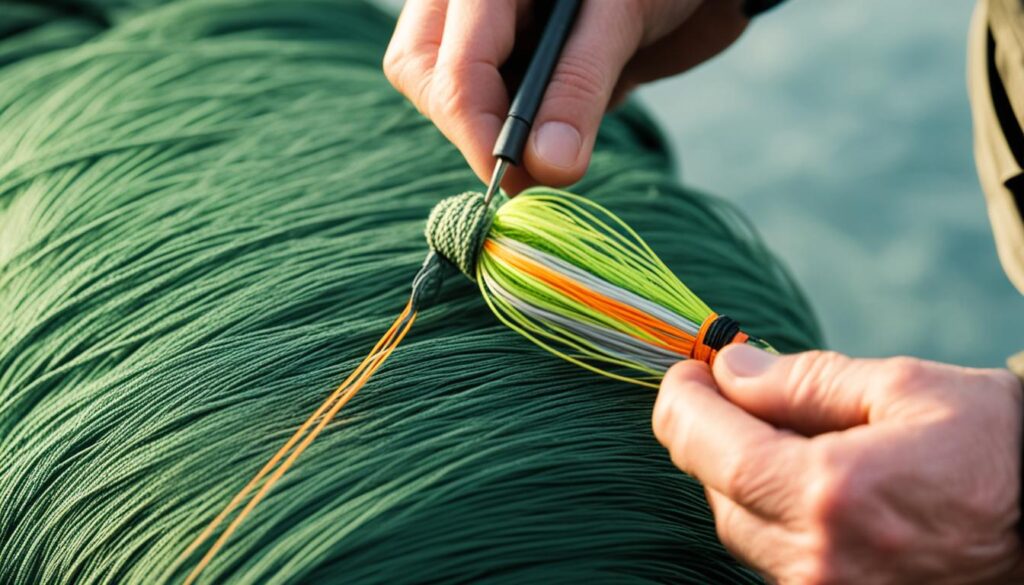
The Surgeon’s knot – Attaching Tippet to Leader or Leader to Leader
When it comes to on-the-water re-rigging, the Surgeon’s Knot is a must-have skill for any fly fisher. This versatile knot is frequently used to attach tippet to the leader or connect two pieces of leader together, providing a strong and reliable connection.
The Surgeon’s Knot enables easy fly changes and maintains the integrity of your setup, ensuring that everything stays securely in place while you’re out on the water. While it may require a bit more time and practice to tie compared to other knots, the benefits of mastering the Surgeon’s Knot make it well worth the effort.
“The Surgeon’s Knot is our go-to knot for attaching tippet to the leader. It allows for quick and secure connections, giving us peace of mind when changing flies and presenting our offering to finicky fish.”
– John Anderson, Professional Fly Fisherman
Step-by-Step Guide: Attaching Tippet to Leader
- Start by overlapping the end of the tippet and the leader by several inches.
- Create a loop by making a double overhand knot, leaving approximately 6 inches of the doubled line.
- Pass the loop through the opening at the end of the doubled line.
- Hold the loop with one hand and the doubled line ends with the other.
- Moisten the knot with water or saliva for lubrication.
- Slowly tighten the knot by pulling the ends of the material and the loop simultaneously.
- Trim off the excess material, leaving a small tag end for visibility.
By following these steps and practicing tying the Surgeon’s Knot, you’ll be able to confidently attach tippet to the leader and connect leader to leader, ensuring the strength and reliability of your fly fishing setup.
| Surgeon’s Knot Advantages | Surgeon’s Knot Disadvantages |
|---|---|
| Strong and reliable connection | Requires practice to tie correctly |
| Allows for easy fly changes | Taking more time to tie compared to other knots |
| Maintains the integrity of your setup |
The Non-Slip Loop Knot – Attaching Fly to Tippet
The Non-Slip Loop Knot is a versatile knot that is particularly useful when fishing streamers or other baitfish patterns. It allows you to attach the fly to the tippet with ease, ensuring a secure connection that creates lifelike movement of the fly.
Whether you’re targeting trout, bass, or saltwater species, the Non-Slip Loop Knot is a go-to choice for many fly fishers. Its ability to create freedom of movement in the fly mimics the natural behavior of prey, increasing your chances of enticing a strike.
To tie the Non-Slip Loop Knot, follow these simple steps:
- Pass the tag end of the tippet through the eye of the hook or the eye of the fly.
- Form a loop with the tag end alongside the standing line.
- Wrap the tag end around the standing line and through the loop you just created.
- Repeat step 3 for a total of three to five turns.
- Moisten the knot and pull the standing line to tighten the knot.
- Slide the knot towards the hook or fly to secure it firmly.
Practice tying the Non-Slip Loop Knot until you can control the size of the loop to suit the size of the fly you’re using. This knot is highly effective when fishing streamers or other patterns that require a lifelike action in the water.
Remember, the Non-Slip Loop Knot is just one of the essential fly fishing knots you should master. Stay tuned for more knot-tying techniques as we continue to explore the top knots every fly fisher should know.
Conclusion
Mastering the top fly fishing knots is crucial for every angler. Understanding and practicing these essential fly fishing knots will enable you to confidently connect the different components of your setup, ensuring a secure and reliable rig. Whether you’re attaching backing to the reel, connecting the fly line to the leader, or joining pieces of leader material, having a strong foundation of knot-tying techniques is key.
By mastering these knots, you can enhance your fly fishing experience and increase your chances of a successful catch. These knots provide the strength and reliability needed to withstand the challenges of the water, allowing you to fish with confidence. So, whether you’re a beginner or an experienced angler, honing your knot-tying skills is a worthwhile investment.
Remember, practice makes perfect. Take the time to familiarize yourself with these essential fly fishing knots and practice them regularly. As you become more proficient, you’ll be able to tie them quickly and efficiently, even in adverse conditions. So, grab your fishing line, head to the water, and start perfecting your knot-tying techniques. With these skills in your arsenal, you’ll be well-prepared for your next fly fishing adventure.
FAQ
What are the top knots every fly fisher should know?
The top knots every fly fisher should know include the Arbor Knot, Nail Knot, Surgeon’s Knot, and Non-Slip Loop Knot. These knots are essential for attaching backing to the reel arbor, connecting backing to the fly line or the fly line to the leader, attaching tippet to the leader or leader to leader, and attaching the fly to the tippet respectively. Mastering these knots is crucial for a successful fly fishing experience.
How do I tie the Arbor Knot?
To tie the Arbor Knot, start by tying an overhand knot on the backing line. Then, pass the tag end of the backing through the fly reel’s arbor and tie a second overhand knot around the standing line. Moisten the knots and tighten them, ensuring that the backing is firmly secured to the reel arbor.
What is the Nail Knot used for?
The Nail Knot is used to connect the backing to the fly line or the fly line to the leader. It is known for its strength and reliability, making it a preferred choice among anglers. To tie the Nail Knot, slide a nail or a tubular tool onto the fly line, then wrap the backing around the nail and the fly line, creating multiple turns. Finally, remove the nail or tool and pull the backing tight to secure the knot.
How do I tie the Surgeon’s Knot?
To tie the Surgeon’s Knot, overlap the ends of the leader and tippet material by several inches. Form a loop by bringing the tag end of the tippet over the leader. Then, make multiple wraps with the tag end around both the tippet and the leader. Pass the tag end through the loop created and moisten the knot before tightening. Finally, trim any excess material.
What is the Non-Slip Loop Knot used for?
The Non-Slip Loop Knot is used to attach the fly to the tippet and provides more freedom of movement, creating a lifelike action. To tie the Non-Slip Loop Knot, make a loop in the tippet, pass the tag end of the tippet through the eye of the fly, then make a simple overhand knot with the tag end around the standing line. Finally, moisten the knot and tighten it while ensuring that the loop is controlled in size.
Why are these knots important in fly fishing?
These knots are important in fly fishing because they allow for secure connections between different components of the fly fishing setup such as the backing, fly line, leader, and tippet. By mastering these knots, fly fishers can ensure a reliable and strong rig, increasing their chances of a successful catch and enhancing their overall fly fishing experience.
